|
|
Post by doc on Jan 27, 2014 19:59:00 GMT -5
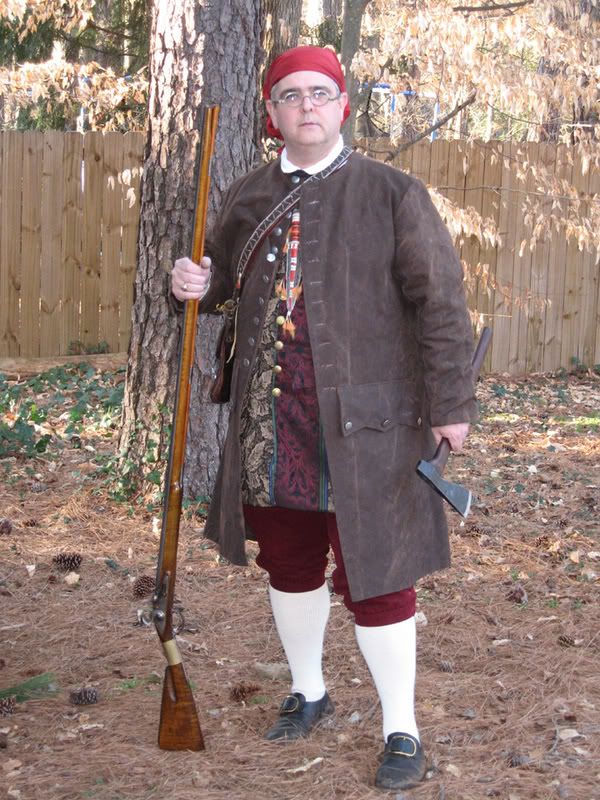
This is the corner of the cook area, I sized it be be able to use my tin kitchen to roast meat, a reflector oven at 90 degrees to each other, hang a pot and hang a spit all from the same fire.  Here's a shot of the tin kitchen:  and the reflector oven:  I used the same fire to cook a pork roast, 2 chickens, a pie and a pot that i did a boiled pudding in. |
|
|
|
Post by doc on Jan 27, 2014 20:03:37 GMT -5
I can't find the full views but here's an old shot of the cook area before it was finished, about knee high 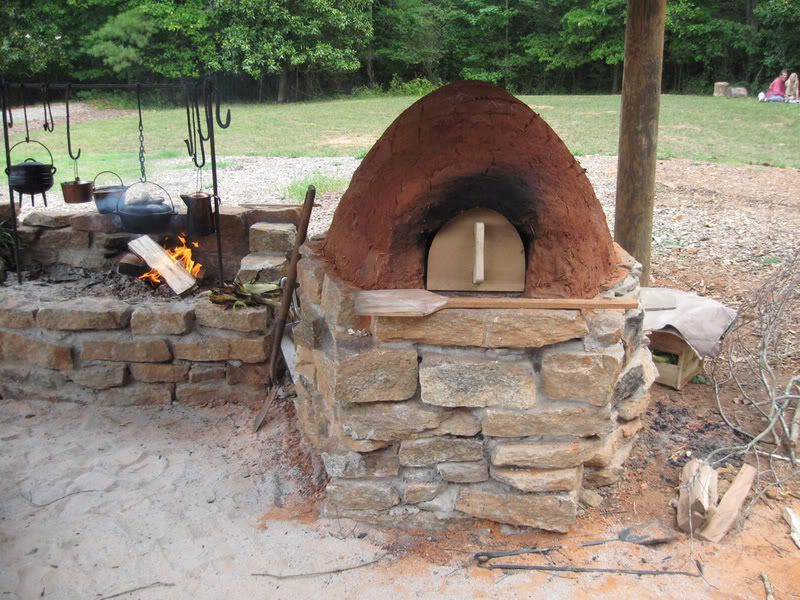 |
|
|
|
Post by nitwit on Jan 28, 2014 7:27:38 GMT -5
That pork roast sure looked good. Stupid question: What time period did reflector ovens get used? I liked the cut outs for the spit. That cook area design would work for us!
Nit Wit
|
|
|
|
Post by rijerolmon on Jan 28, 2014 7:52:32 GMT -5
My 2 cents worth.....#1= The mud hole and drainage at the range, #2=Protected storage area for building materials (Perhaps a shed roof off the side of the "trailer". #3= Overall property "clean up" of old targets and debris. #4= Do hooters need work or perhaps some replacements? I have no problem with adding a cook area especially for our annual "feeds". Please remember that our work parties are not getting larger however they are getting older.  |
|
|
|
Post by doc on Jan 28, 2014 11:43:47 GMT -5
Tin kitchens, the term for what we call a reflector oven but set up to roast meat became very popular in the 1780's and after but show up in paintings even as far back as late 17th century, just not common. Harder to place "reflector ovens" as we know them with a shelf for baking pies or biscuits, likely 1st quarter 19th. The tin kitchen tends to have an access door on the back for basting, drip catch bottom, often with a spout on the side to be able to pour them off. The spit has a right angled pin with matching holes in the end of the oven so you can rotate it evenly. Most I've seen have ten holes so it makes it easy to divide the needed time up. You get pretty good at judging the right fire and distance that gives about 350 degrees which is good for roasting and most meat coking tables in cookbooks are set to that or close. SO if you have a 5 lb roast that supposed to be 20 min/lb you come up with 100 minutes and need to rotate the roast one notch about every 10 min. Really tends to works. Larger roasts that cook longer you cut the time in half and do two rotations. The spit has flat spots in it with rectangular holes that take a skewer to keep the meat from slipping.
|
|
|
|
Post by doc on Jan 28, 2014 11:52:45 GMT -5
Like any collection of work projects, it always seems better to mix both the "really should be dones" like fix the drainage with the fun projects like a new cook area and realize all can't be done at once. The cook area likely needs to be done in stages, need a loader & backhoe to fix the drainage at the range, then use it to clean up and level the area below & behind the longhouse. Layer of crusher or similar to compact and make good drainage. Next time work on a new covered area for the cook shed that also gives more space for the dinners out of the weather. Same gear, materials and folks to build a covered shed area to store building materials off the conex. Next stage or two would be to build a cook surface and an oven.
|
|
|
|
Post by doc on May 5, 2014 14:02:09 GMT -5
Another common kitchen convenience, particularly for larger sites was the "stew stove". Basically a countertop with round opening that served as burners (as well as the flue) for a cookfire in a chamber below. Been thinking about adding a couple of them when we re-build the cook area at yargo.  This is from Monticello: 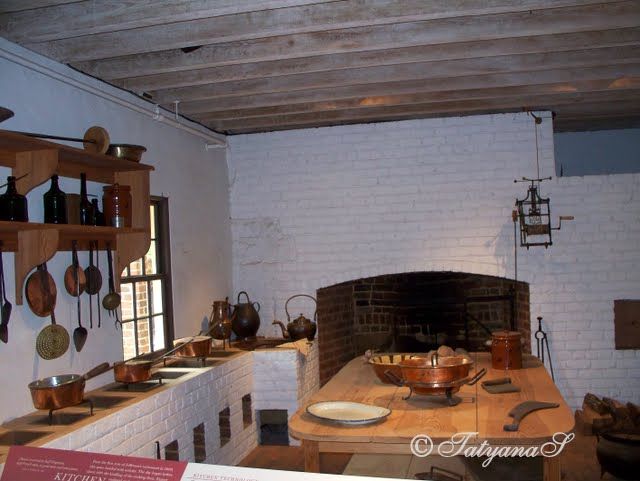 And this one from a reconstructed 17th century Spanish site:  Use an iron trivet to hold the pot up or just a couple of iron bars or a spider type skillet with legs. Height is about a modern counter top. |
|
|
|
Post by doc on May 5, 2014 14:04:45 GMT -5
The Spanish one was a single burner, Monticello was a 7 burner and the 18th century illustration shows a 3 holer . As far as I know it was up to the builder as to how many units, most seemed to have a firebox about 12 - 15" wide, 20 -24" deep, about 12" tall with a flat or domed topped firebox and the flue was about 16-24" tall with a 8-12" round opening. have seen a few later ones with a square opening but with an iron grate on top.
|
|
|
|
Post by M 'n M on May 6, 2014 8:10:19 GMT -5
I agree, an elevated cooking area would be a wonderful thing and I also like the oven idea. Of course anything permanent that we build be be subject to the stupidity of the morons who like to destroy things just because they can. That bothers me but I really do like the idea of both, along with seating in the longhouse. Personally I don't spend much time there because of the lack of seating. There, my added two cents worth. ~M 'n M
|
|
|
|
Post by doc on May 6, 2014 12:41:24 GMT -5
I've learned to always plan on having destructive folks, usually young people, trying to destroy anything we build in the park. All of the cook surfaces and areas are of solid granite masonry construction and the earth oven has a granite base. With a stable base, the clay earthen oven is pretty hard to damage being a dome but is also really easy to rebuild. I've rebuilt part of the Yargo one in a few hours. Even completely smashed in, you can put it back in a single Saturday. Just realism being in a public park the teenagers can get to without supervision. Either build it so it will survive having a truck crash into it or make it easy to re-build and don't stress about it. They can't even tear it up pouring gas on it and setting it on fire.
|
|
|
|
Post by doc on Jun 13, 2014 20:21:55 GMT -5
I like the early Home Depot treated landscape timber base.
|
|
|
|
Post by doc on Nov 2, 2015 22:05:59 GMT -5
The original book that started a lot of the more modern interest in traditional bake ovens is 'The Bread Ovens of Quebec' published on the research of two graduate students about 35 years ago. It has been long out of print and the used copies have gone out of sight in price. Glad I held on to mine. There is a site to download a pdf of it. www.historymuseum.ca/cmc/exhibitions/tresors/barbeau/mbp0501e.shtml click on the picture of the cover to download it. It's not a terribly big file but proboards won't let you attach any over 1 MB. |
|
|
|
Post by doc on Aug 30, 2016 20:16:07 GMT -5
I'm going to be home for about 2 1/2 weeks in October, if I can I'll help. Found a decent source of clay?
|
|
|
|
Post by doc on Sept 1, 2016 8:01:26 GMT -5
Looks great. For the raised cooking area, you probably want level brick or stone only along the front to give a level work area. I'd leave most of the fire area compacted gravel as you'll find the brick fairly rapidly disintegrating with the heat of the fire and really hard to keep level. And it actually makes 3 legged pots nestle better and less likely to tip and still real easy to clean excessive ash off of.
|
|
|
|
Post by doc on Oct 30, 2016 9:00:46 GMT -5
Just for fun, ran across another pic of cooking with my tin kitchen: 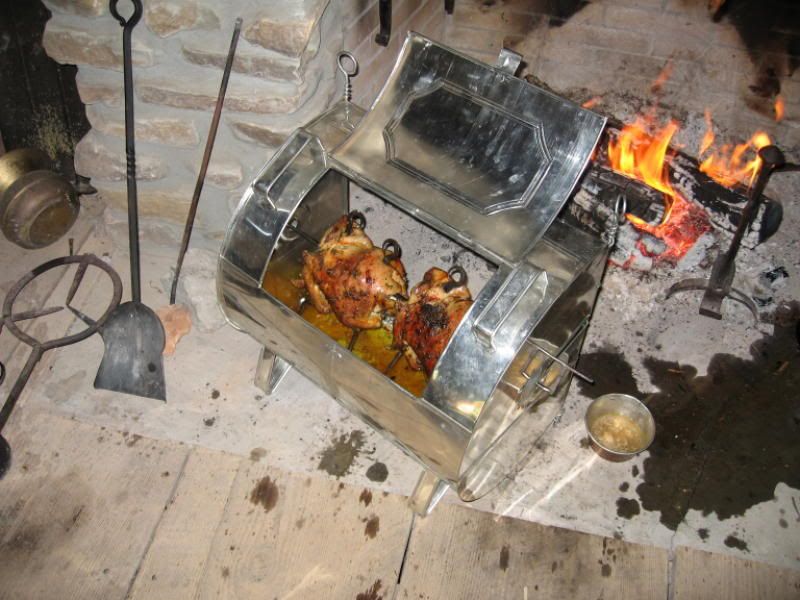 |
|